Okay friends... I felt dumb posting these pictures on FB so I haven't but my friends keep asking to see my kitchen remodel so I thought I would post them on my old blog !!!
Let me also add that I have always wanted to design a kitchen and although doing a remodel limits you in a lot of ways it was SO MUCH FUN! Picking out every detail was a little overwhelming but mostly amazing and I couldn't be happier with the way it all turned out!
Let me also add that I have always wanted to design a kitchen and although doing a remodel limits you in a lot of ways it was SO MUCH FUN! Picking out every detail was a little overwhelming but mostly amazing and I couldn't be happier with the way it all turned out!
I wish I would have taken more pictures of the "before" but here are some I found from before we moved into the house:

We hated the dropped ceiling above the bar... weird. So that had to go along with the beer-glass pendants that hung right at eye level.

The room was dark and beige all over and the islands shape made some very tight walkways so we redesigned the island too.

First thing, we took out the sofit over the island. It was a very messy job but Trev was up for the challenge!

Eventually we patched up the ceiling and added wood planks to cover it all.

Months later (this was a long process my friends!!!) my parents came up from Utah and we started demolition on the kitchen. We removed all the cabinets (I'm putting them in my craft room) and took out the concrete countertops... all 4 tons of them!!
I'm not kidding... they weighed it at the dump... 4 TONS people.

The backsplash was glued on instead of using mortar and we could not get the tiles off so we ended up cutting out all the drywall with the tile! Not fun.


We then patched up the drywall and took apart the island which was by far the hardest part. We had to relocate plumbing and electrical to fit our new islands placement.

We also found that there were some tiles missing under the island that would be showing so we had to find and put in new tile. Fortunately we were able to find a similar tile and I took some wood stain to "dirty it up" a bit to match the rest of our dirty tile. ;)

Electrical nightmare!!!!

BUT, it was all worth it!
(if you ask my husband he may beg to differ on that statement)
This is my new lovely kitchen:

I LOVE my ginormous copper farmhouse sink.
LOVE it!

We moved the fridge over to the corner and clipped off the corner of the end cabinet to help with the traffic in the kitchen. This area used to be a terrible bottleneck!

My ceiling planks were also a ton of work
(the mudding and sanding and then nailing planks and filling nail holes and sanding some more and then painting and caulking all over my head ... talk about pain in the neck! pun intended)
but it was also totally worth it!!!


I did all the tile myself and hope that the white subway tile will be forever timeless.

One of my very favorite things about the new cabinets are the upper cabinets with the grille and lighting and the beautiful crown molding.

So there ya go.
I feel so spoiled to have such a beautiful kitchen!
I know that it is just a "thing" and there are far more things that are far more important but I am grateful for it and my family enjoys it every day.


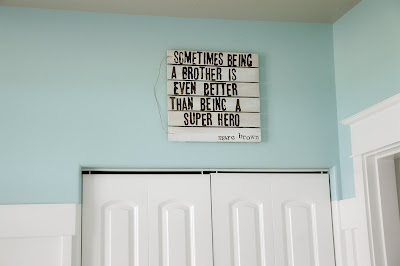
 I LOVE the crib bedding I found at TJMAXX (Kenneth Brown "Jumping for Joy").